
What is it about Christmas music that makes cooking that much more enjoyable? I absolutely love to listen to music whenever I am cooking... but somehow when baking my thoughts seem to drift to Christmas music... Tis the season I guess!!!
Have you ever had a recipe that calls for you to melt a stick or more of butter... Well I was always the type who would just throw the whole stick in and swirl it around... all the while wondering why it is taking forever... Well my friends I have changed my ways... I now cut my butter in slices... like 4-6 slices per stick... now I do not have to wait for what seems like forever for my butter to melt... now I know this is something I should have known to do... but it never once occurred to me... I was to busy being impatient to rethink my process until ... well... now.
So I have been craving peanut butter cups lately... and I was searching and searching for just the right recipe... but was not finding one that called to me... so I put it on the back burner so to say. Well today I decided to resume my search and I found something that looked promising... but of course being me I had to do some tweaking... and I must say... I am not sure what the originals were supposed to taste like... but the ones I made are pretty freaking scrumptious!
So without further delay.....
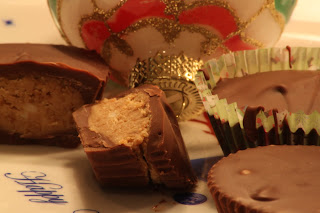
Peanut Butter Cups
Ingredients:
1 cup creamy peanut butter
3/4 stick of butter
1 1/4 cups powdered sugar
1 1/4 cups crushed gingersnap cookies (fine crumb)
1 tsp vanilla
36 oz chocolate (milk chocolate or semi-sweet)
36 oz chocolate (milk chocolate or semi-sweet)
Approx 75 mini cupcake liners
Directions:
Melt butter and peanut butter in a saucepan. In a large bowl combine gingersnap crumbs and powdered sugar. Mix well. Add peanut butter mixture and vanilla to the crumb mixture. Mix well. **Just a note... this mixture might seem a bit crumbly... but it should cohere if you squeeze it in your hand!** Melt the chocolate in a double boiler. If no double boiler is available, use two saucepans, one on top of the other. Boil about 2” of water in the bottom pan. Put the chocolate in the top pan to melt. While chocolate is melting take your mini cupcake liners and place them on a large baking sheet. Once chocolate is melted use a spoon and place a little in each cup making sure to cover the whole bottom. Once all the liners have chocolate in them take the melted chocolate off the burner so you don't burn it. Then take about a teaspoon size scoop of the peanut butter mixture and using your palms roll it into a ball. Then take the ball and pat it into a small patty **it should be no bigger then the size of the cupcake liner** and place on top of the chocolate in the cupcake liner. While you are making the last few patties start to rewarm your chocolate. Once all cupcake liners have a peanut butter patty in them you can use your spoon to put chocolate over the top of the patties. Make sure to cover the patty all the way. Once you have covered them all slide your baking sheet with your liners into the fridge and cool for at least 30 minutes.
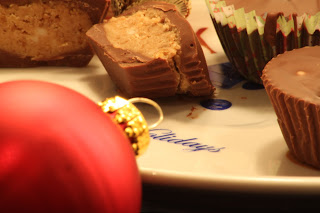
Word to the wise... these are amazing and addictive. I made and gave some out today and so far the feedback is that they were 9 out of 10 when using the semi sweet and 10 out of 10 when using the milk chocolate. As you can see this recipe makes quite a large batch, so they can be shared. Well hope you all have fun making these little bits of amazing... I know I did!
 Whenever I say an idea hit me... That is what I think of... but that is neither here nor there... so back to the point...
